Request a demo
Tell us about yourself, and we'll be in touch right away.

A brief overview of all user activities and revenue generated from user campaigns is displayed here.

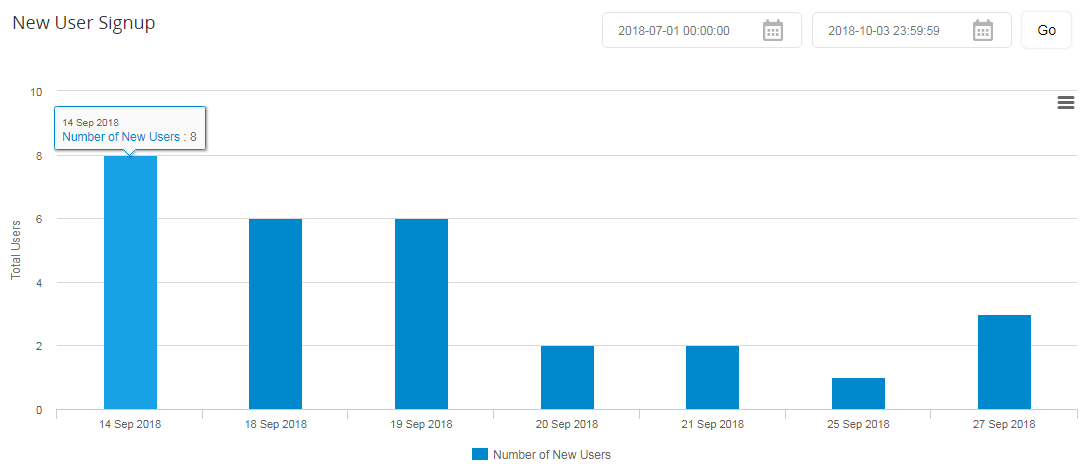
All user registrations received through promotions/campaigns for each day are shown in the New User Signup graph.
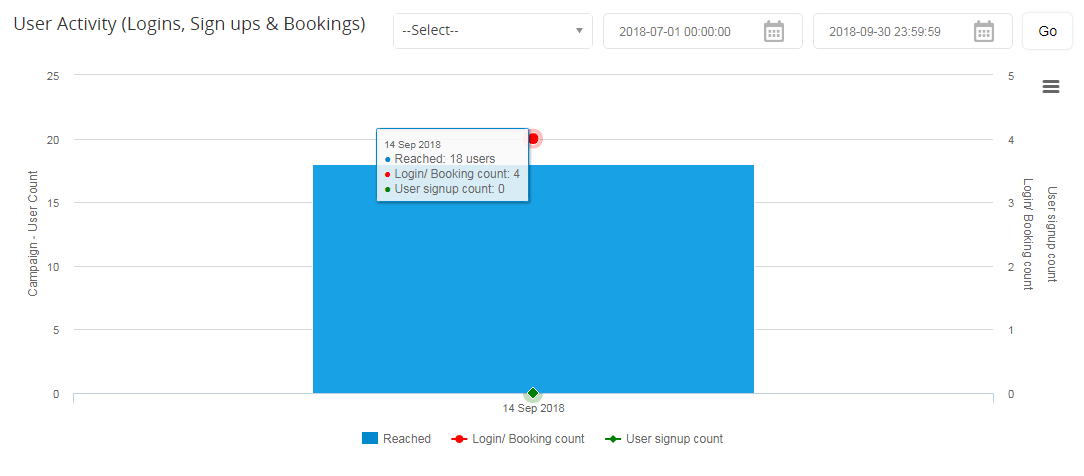
All campaign-based user activities including the number of logins, registrations, and bookings are given below.
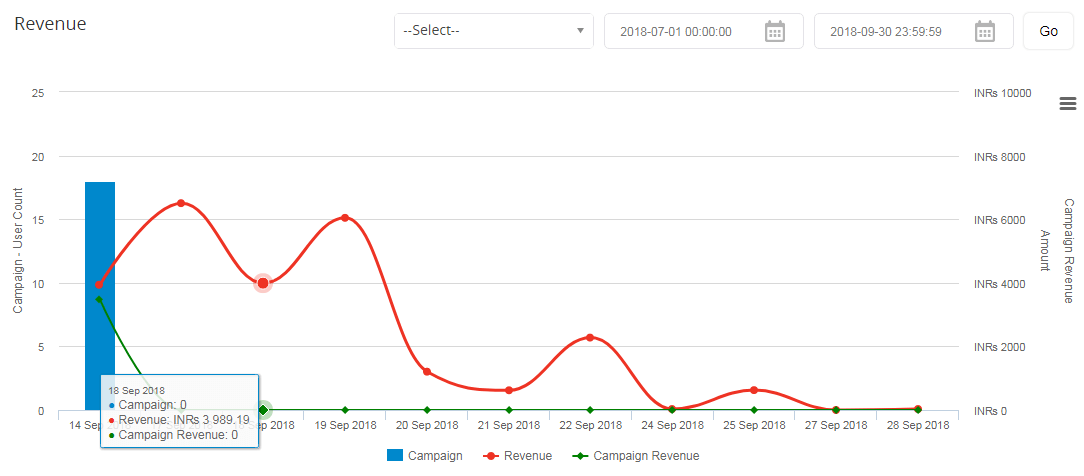
The revenue graph represents the number of campaigns and the revenue generated from each campaign per day.
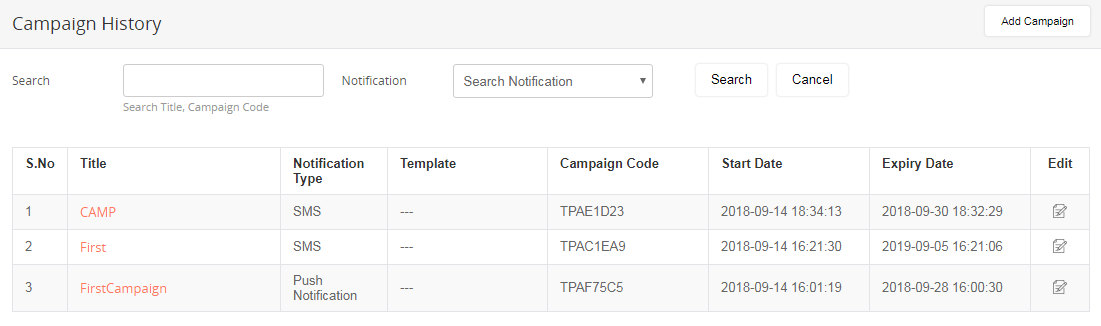
In the campaigns page, you can access the complete history of the previously run campaigns. Click on the campaign name to view the complete details of any particular campaign.
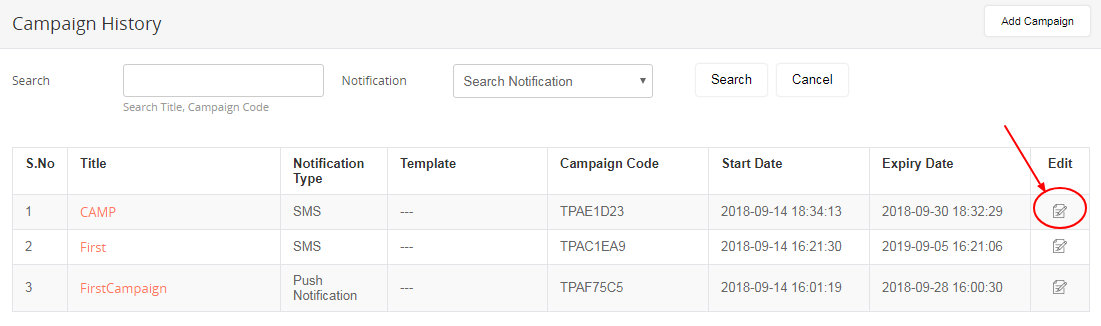
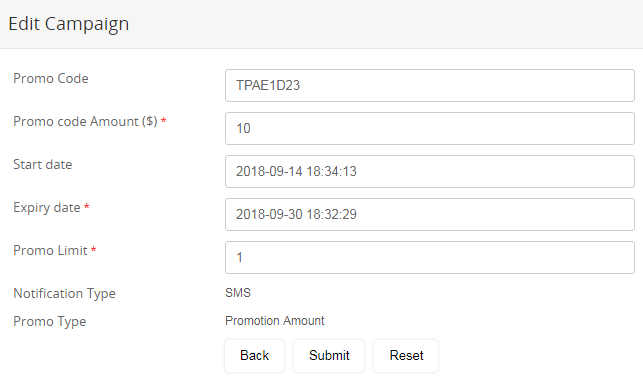
If you want to edit any campaign, you can do so by clicking on the icon in the Edit column. It will be redirected to a form-filling page where you have to provide all the required information and submit the form.
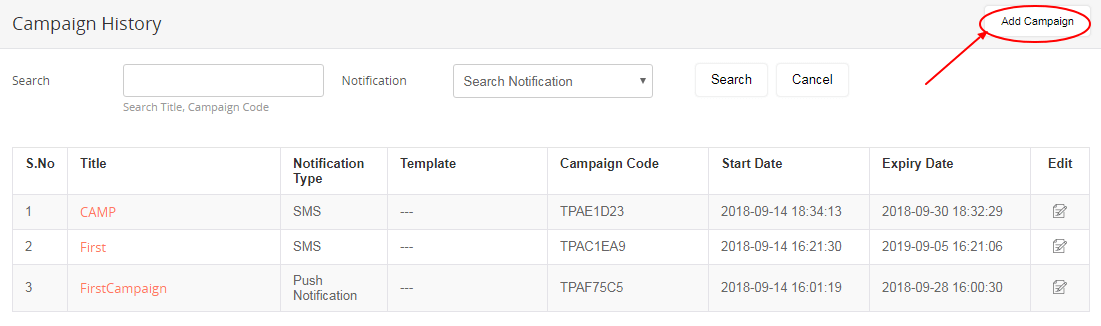
You can also add new campaigns by clicking on the “Add Campaign” button. It will take you to a form-filling page where you have to provide all the required information and submit the form. The newly added campaign will appear in the list.
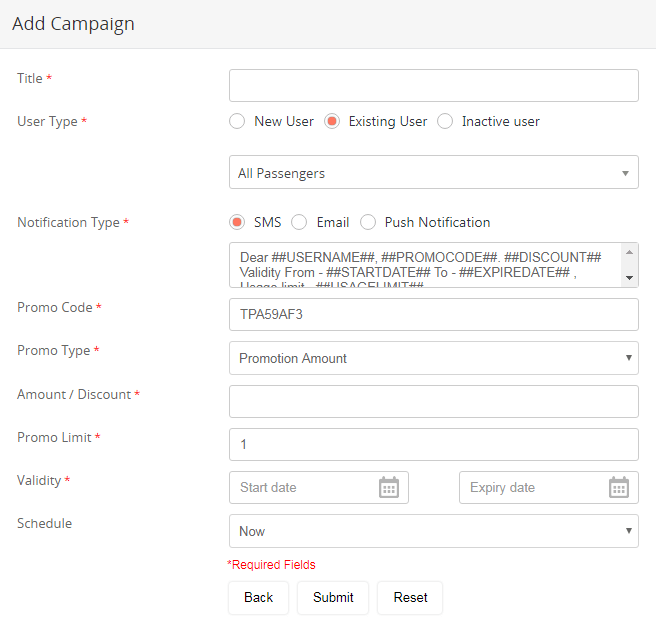
The admin can add and manage promotional campaigns in the back end providing the code, notification type, start date, and expiry date. Automated notifications will be sent to the selected users as SMS, email, or push notification based on the selection. Promo codes can be sent to a new user or existing users and can set the discount amount, usage limit, and validity in the back end. The admin can also send bulk SMS and emails. The count of the SMS and emails depends on the third-party service provider like Sendgrid for emails.
The templates for the promotions can be set in the back end depending on the purpose and users. By clicking on the title of the template, you can access the complete details of the selected template and make changes if necessary. The admin can enable or disable the template as and when required.

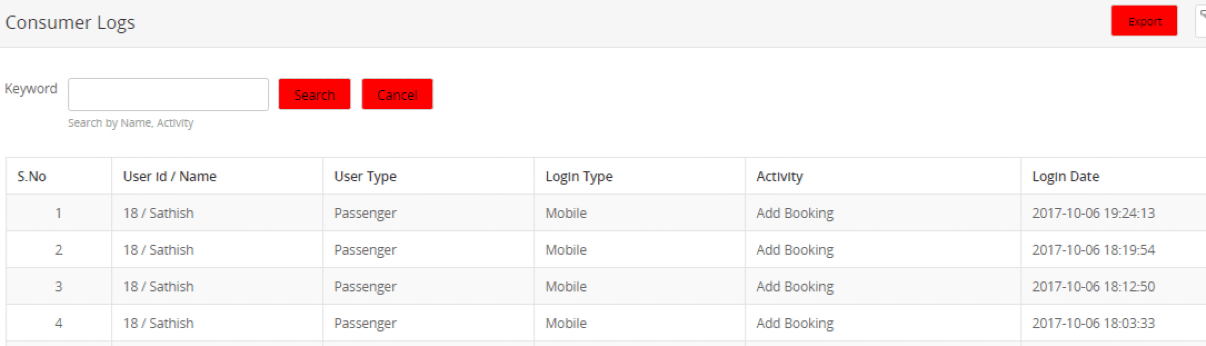
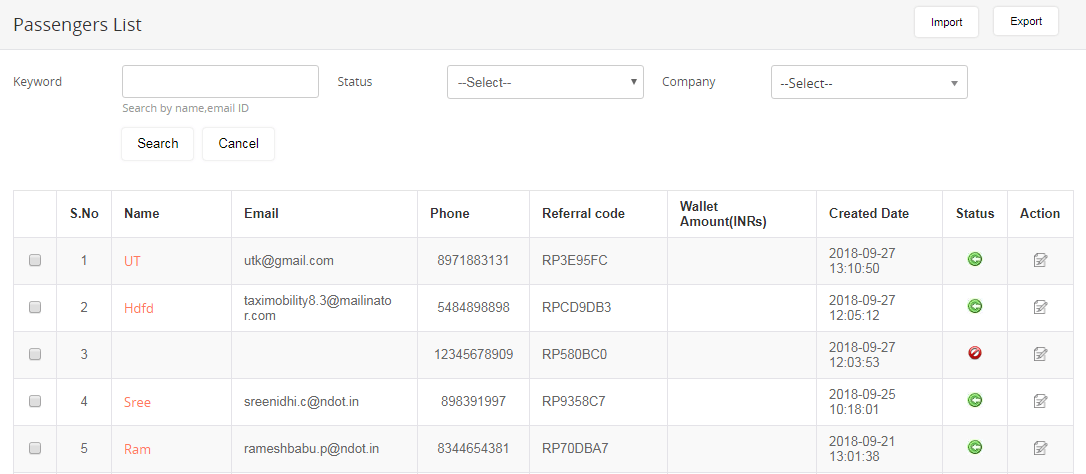
In the consumers’ page, you can get the passengers’ list and complete data of each passenger. You can search them by keyword or by status. You can also edit the profile of the passengers.
If you click on the name of the consumer, you will be getting to access the individuals’ usage details, consumer report, and trip history.
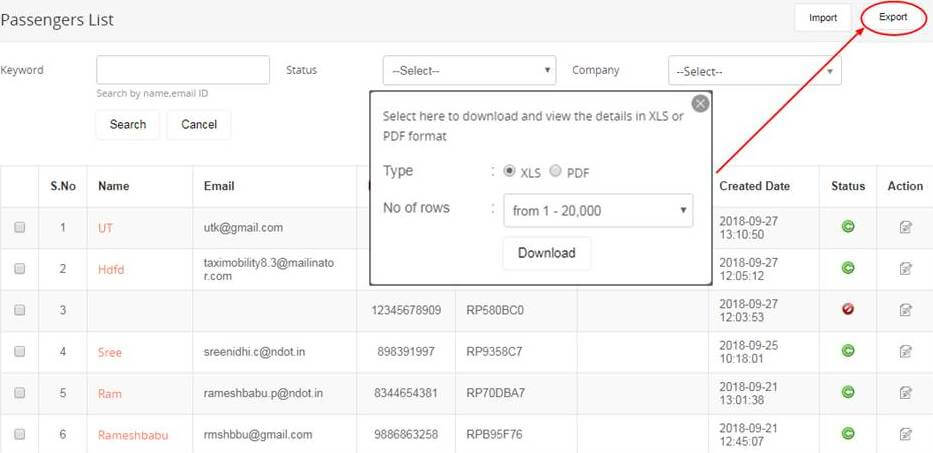
Such passenger data can be downloaded in Excel or PDF format by clicking on the “Export” button in the top-right corner. Any amount of passenger data can also be imported from your existing database that must be in supported file format.
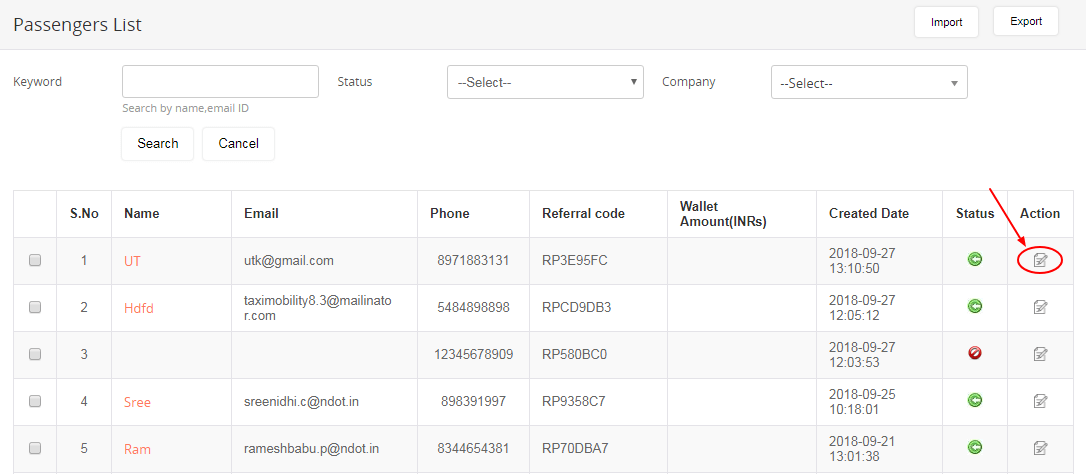
Click on the “Edit” icon in the “Action” column to edit passenger information.

All passengers who are registered with the application are listed with particulars such as their name, email id, phone, referral code, wallet amount, and the date of registration. The consumer profile can be edited as required.
The admin can import files to the database. While importing, the admin will be notified of any errors such as invalid phone number or email ID.

The report can be downloaded in XLS or PDF format by clicking on the “Export” button on the top-right corner.
A passenger’s wallet with the name, phone number, wallet amount, and the payment type is cataloged for further reference. The report can be downloaded in XLS or PDF format by clicking on the “Export” button on the top-right corner.